
#Powershell Magic Back once again with the Powershell 🥓 flavour

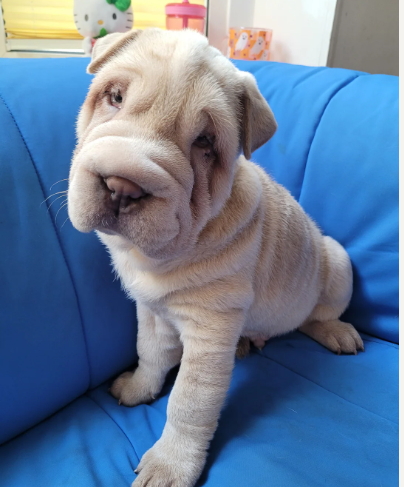
#Puppy update
Been a few blogs since I mentioned the puppies. So 3 have been sold, but I still need to find forever homes for 3 more boy puppies. I think it is crazy that they have not sold already as they really are adorable looking full breed Shar Pei puppies. I mean my wife and I dropped the price a bit too, as I do not think it is realistic to have 7 dogs (my wife would probably disagree) I apprecite buying a dog is not super cheap, but like one person said they were thinking of 500, so my wife politely replied letting them know the eye tacking alone was 400, then plus 92 for vacinations and micro-chipping. So 'we' would be looking at 8 quid profit. Not including all the food and puppy milk I have paid out for. So yeah did say to that person that this is why they are listed for 850. Which was a drop from 1000, but I see people selling mongrels on their like shar-doodle or something crazy for like 1,500 which to me is taking the biscuit. The pups I have for sale are pure Shar-Pei dogs but I know the cost of living is mental as well at the moment. As my wife has had a few people asking if we take payment plans. I am already bank of dad to my 5 daughters, I am not a bank for the general public, and then it's like well if you don't have the cash fully to pay for a pup, do you have the money to feed the pup? And pay for vet bills if required. Maybe I love my dogs to much to let them go to just any-body as I genuinely want them to go to good homes. Just like this family I may know who never walk their dog, they may have initially enquired about the puppies, but like even if they offered double or treble the selling price it would be a no-go as I don't want these pups to be imprisoned in a house all day. That to me is no life for a dog to be stuck in the house everyday all day. Personally I think it would be great if dogs got more rights, as in if you are a dog owner you need to walk your dog, end of, it should be illegal to own a dog and never walk it in my opinion.
#Ascii Art
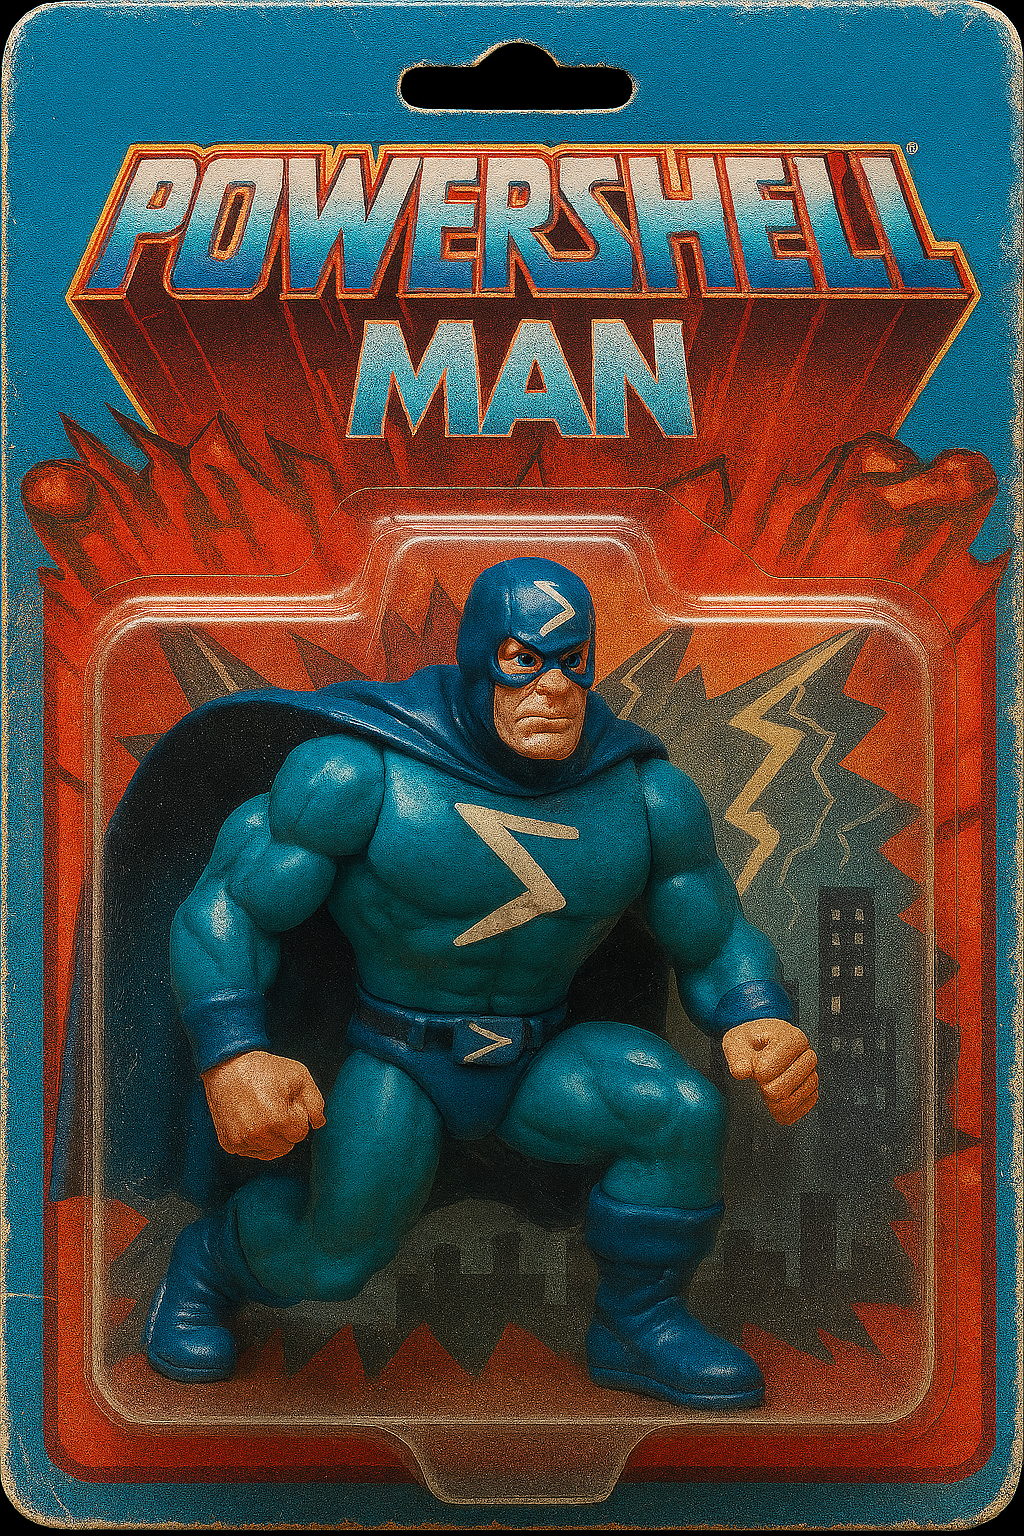
So I was thinking before I done this blog, lets use one of the many modules I have published to the PowerShell gallery to add some more bling factor to my blog site. Like more cool images exclusive to this site only:

Then turning this image into text to display right in your PowerShell 7 console directly like this:

In this blog we are going to cover using PowerShell for all your ascii art needs and desires.
#Binary Modules
To me not enough talk is done on PowerShell binary modules, like you see people blogging about advanced functions, to then publish as modules, or a while back when Microsoft released Crescendo Modules coverting an older based .exe into pure PowerShell object orientated output. But very little is talked about Binary modules, and what they are and how to create them. So we can cover all that in this blog. Which I know will be a tantalizing read, so lets make that happen on Monday night.
A PowerShell binary module is an assembly (.dll) that contains cmdlet classes. These modules can be created using C# and provide significant performance benefits, especially for tasks that involve complex operations like JSON processing or working with hashtables.
So I did make a binary module which did this a while ago, which I documented here on my old blog-site: https://adam-bacon.netlify.app/binary-modules/image2text/
However if like me you don't do something for years it can be quite hard to remember exactly how you done it. As the reason I went for a complete re-make of this module is because when I wrote this module years ago, I was running a very old x86 Windows 7 laptop. It worked great and I was so happy I did the blog on it. However I still need to make all my modules update more frequently, as when I went to use this module I had create now running on an x64 Windows 10 laptop the module did not work.
So I wanted to make it more resilient this time round, so it would work on x64 systems, and use the latest PowerShell 7+ but I would need some assistance on this. So I called my super-handy AI assistant I created and shared in my previous blog. Although I did not get the full answer in one reply, after we discussed this project and how to pull it off I got the answers I needed.
#Follow along and make a binary module with me
So first off just like building a house we need to have some sort of structure. That structure which I am talking about is the directory structure, that 'we' will create to host this module in.
Once I opened this main folder up in VS code, I then needed to create the files listed above within this directory.
To start off lets show the code I needed for the .csproj file which is an XML-based file used by C# projects in Visual Studio and other .NET development environments. It contains essential information and settings that define how the project is built and managed.
Image2Text.csproj code shown below
Next I needed to create the TextImage.cs this .cs file is a source code file written in the C# programming language, which was developed by Microsoft. These files are primarily used in the .NET Framework or .NET Core environments to create a wide range of applications, including desktop software, web applications, and games. The .cs file format is text-based and contains human-readable instructions that are compiled into executable files (e.g., .exe or .dll). We want this in a .dll but first we need to code it
TextImage.cs code below
With these two code files created we can now generate the dll file we need, but to get that to work, we need to edit the psd1 and psm1 files to load in this newly created dll. So here is the PowerShell code to do that.
Here is the main psd1 file code to have the module defined should we wish to publish this.
Then finally need to write the function to do the magic by communicating and loading the assembly file we are about to generate
PSM1 code below
So now you got those four files all prepped and ready in VS Code, you next need to run this code to build the magic .dll file from the csproj and cs file.
Code to build the .dll file required to make this awesomeness happen
Boom you should see an extra couple of folders now appear in your project directory, and I copied the .dll file which was produced in bin\Release\net6.0-windows directly into the main directory with the other 4 files we just created. As this should make loading it easier, and well just get everything to work as I envisioned. I also learnt a new way of inspecting the dll file as originally I did not have all the parameters like -UseColor or -SaveToFile in the original dll and wanted to add those in, so to check the available parameters on the dll file I ran:
To verify that all the options I wanted for this existed in the dll file itself. All this typing is making me hungry, so I am going to go eat my dinner now, and hopefully you had a blast reading this blog and learning about something new. Thanks for reading.
#Now published PowerShell Gallery
So if you did not fancy doing this yourself, then you can download this module from the below link.
https://www.powershellgallery.com/packages/Image2Text/1.0.4
Wow so pumped after doing this blog then eating some dinner, I thought I need some banging music to go support this blog. So taking me back to a time when I was young and thought I would party forever here is some stomping dance music 🎵
Until next time stay safe and take care.